Sie sind nicht angemeldet.
Lieber Besucher, herzlich willkommen bei: Das Wettringer Modellbauforum. Falls dies Ihr erster Besuch auf dieser Seite ist, lesen Sie sich bitte die Hilfe durch. Dort wird Ihnen die Bedienung dieser Seite näher erläutert. Darüber hinaus sollten Sie sich registrieren, um alle Funktionen dieser Seite nutzen zu können. Benutzen Sie das Registrierungsformular, um sich zu registrieren oder informieren Sie sich ausführlich über den Registrierungsvorgang. Falls Sie sich bereits zu einem früheren Zeitpunkt registriert haben, können Sie sich hier anmelden.


Hi Hubra
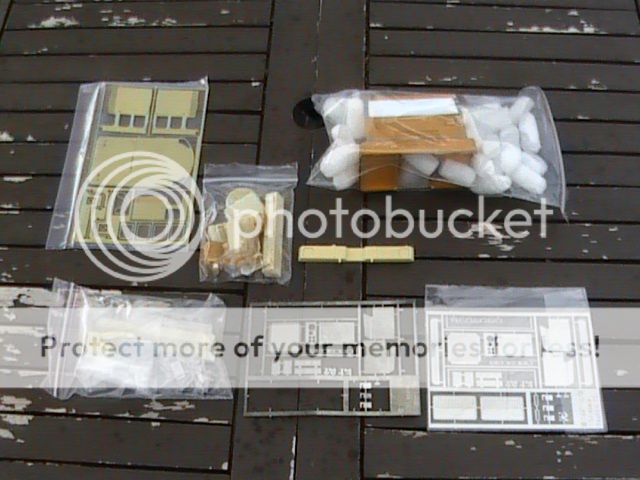
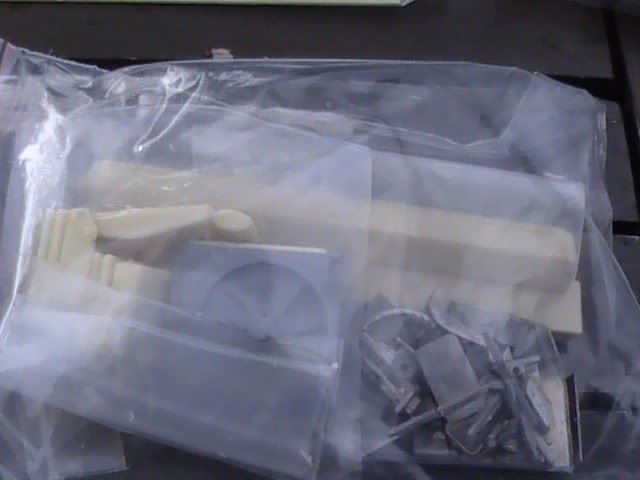
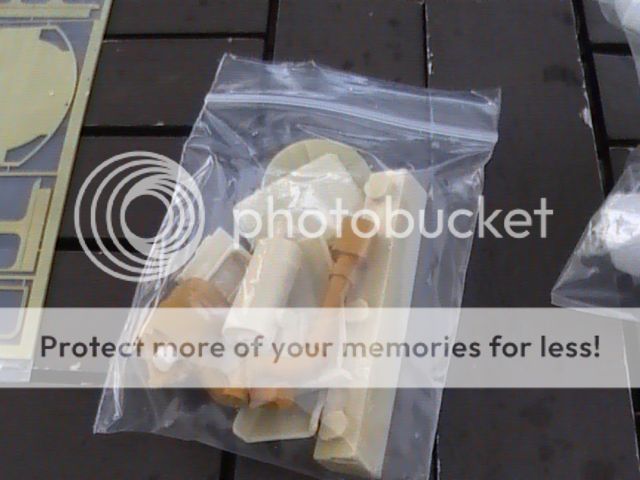
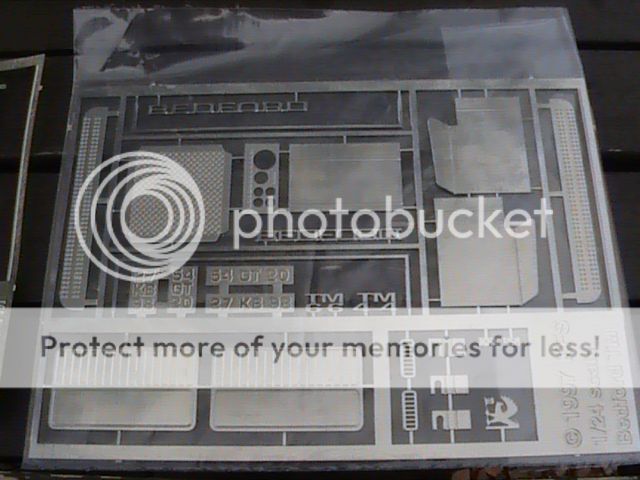
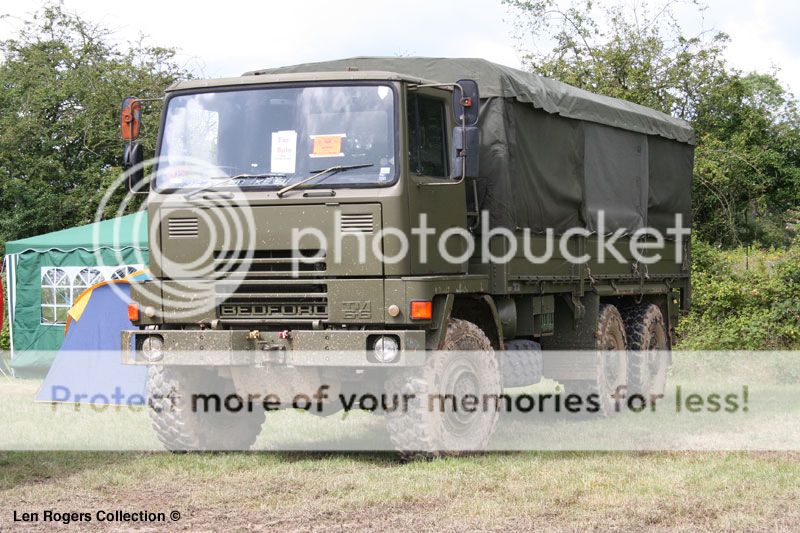
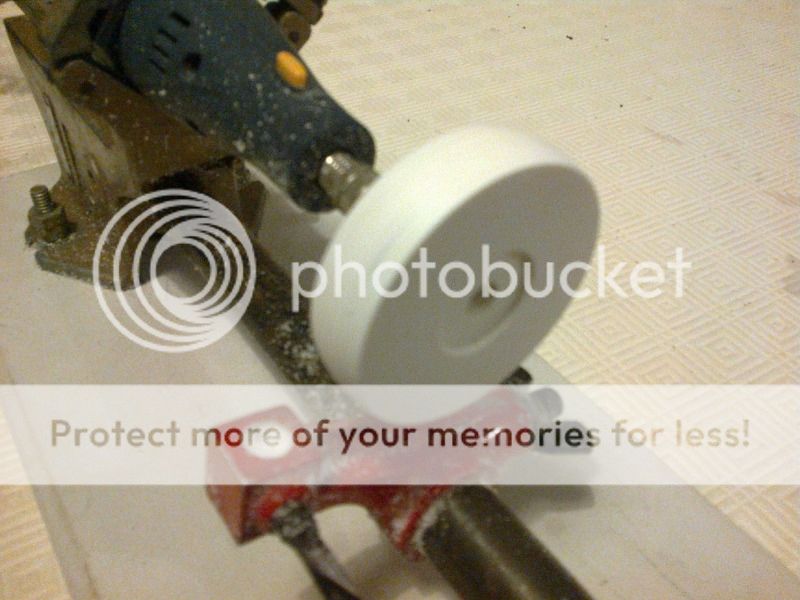
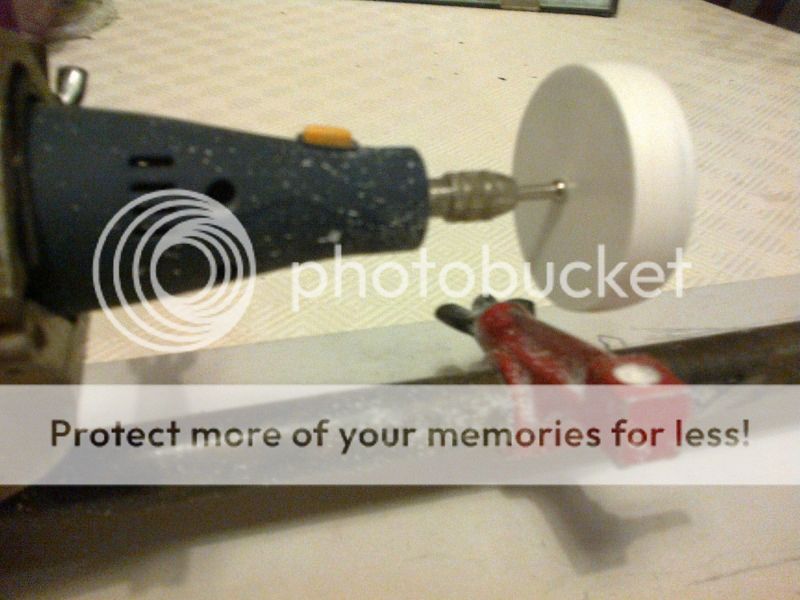
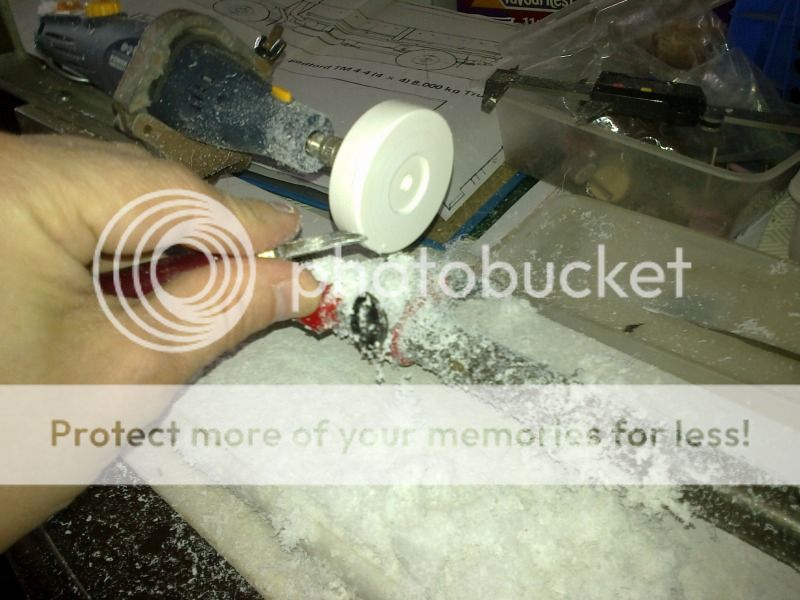
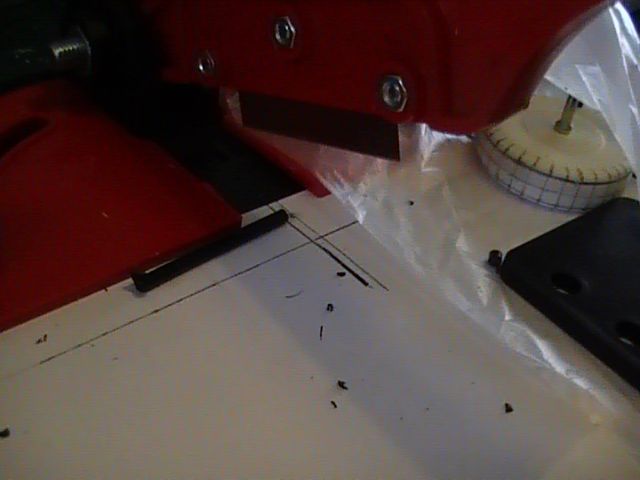
My photos have been uploaded through Photobucket and I cannot see any tools on there to allow me to adjust the picture settings !!!!!!!!!!! Have you any idea as to how I go about resetting the picture sizes ????????
Any help would be greatly appreciated !!!!!!!!!!
Sorry if the pics are not good !!!!!!!!!!!
All the very best from sunny Scotland
Nigel
Hallo Nige.
Die maximal erlaubte Bildergröße hier im Forum beträgt 800 x 800 Pixel.
Bitte dieses kurzfristig zu ändern.
Gruß Micha.
Ab jetzt könnt ihr eure Bilder direkt in eure Beiträge einstellen![/quote]
 Hi Nigel


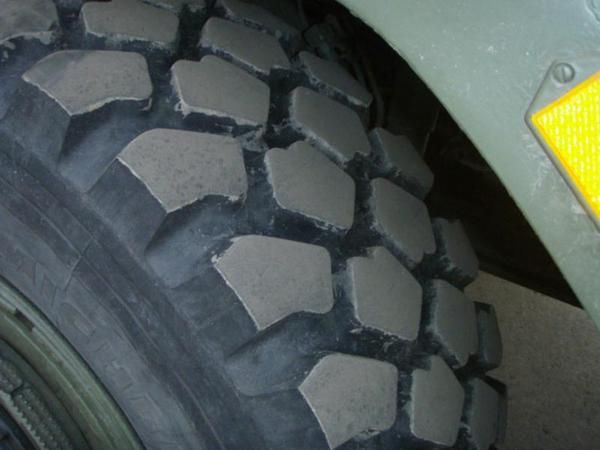
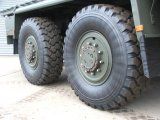
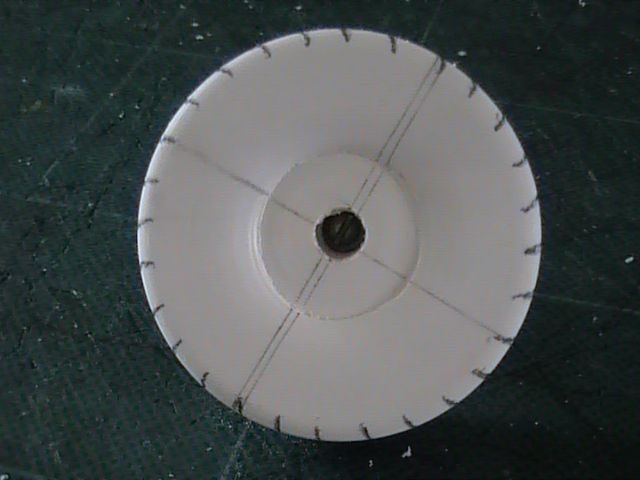
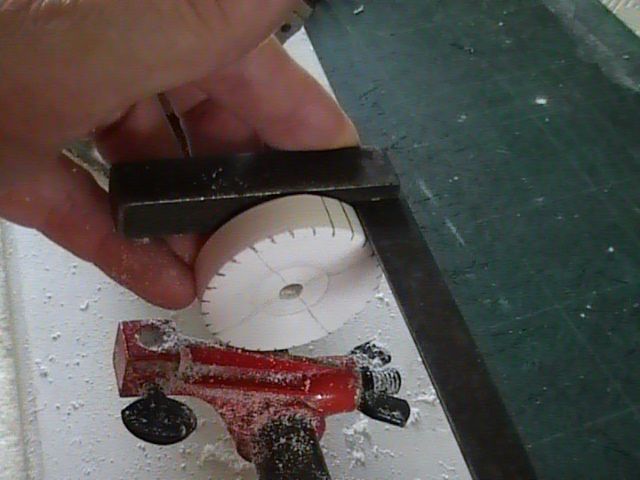
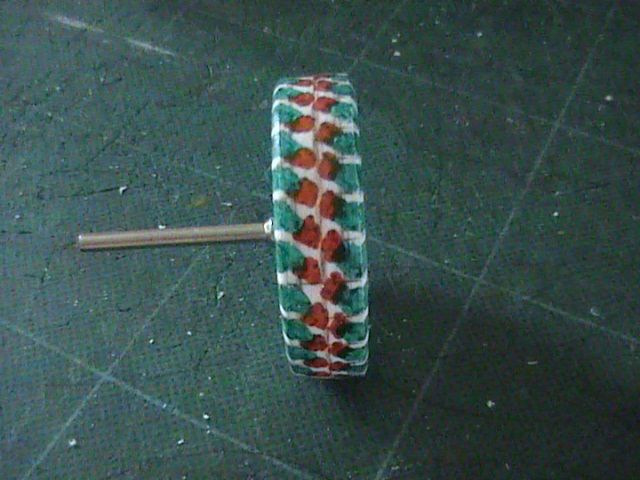
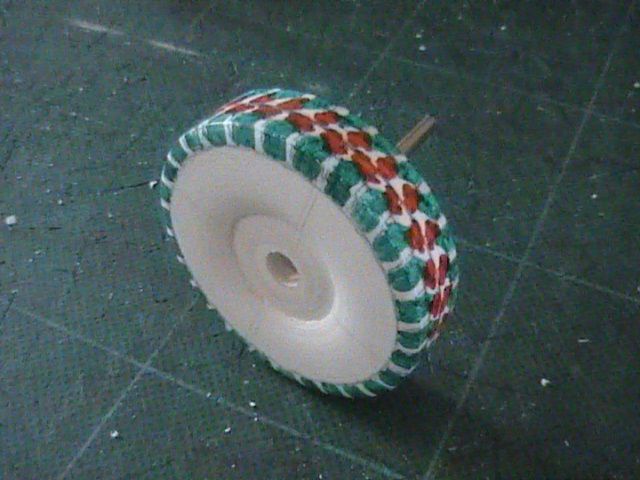

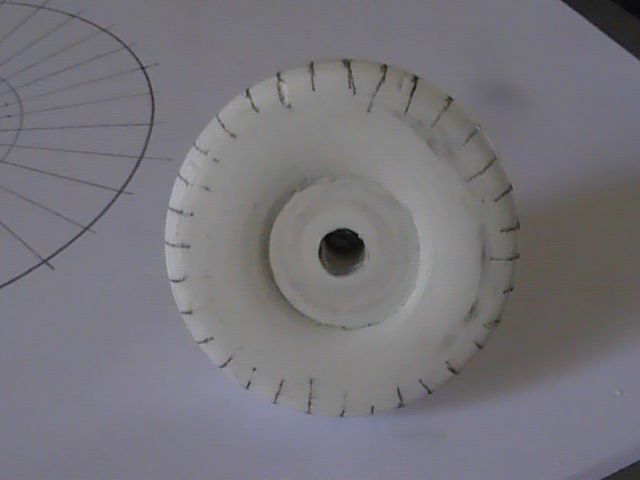
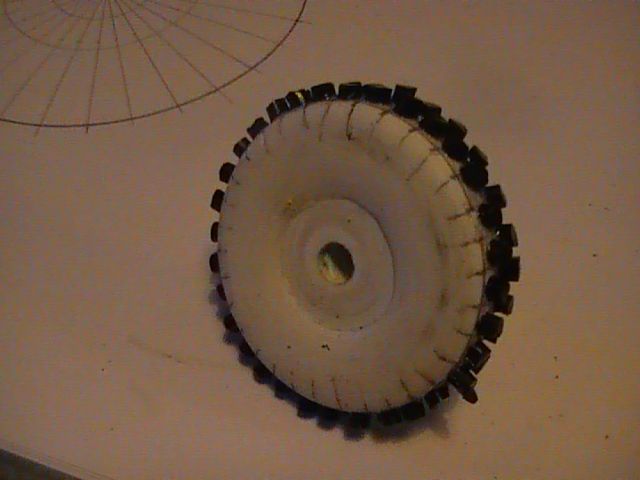
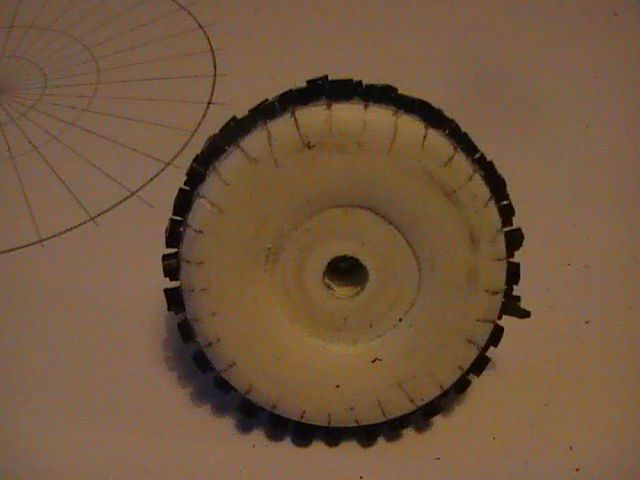
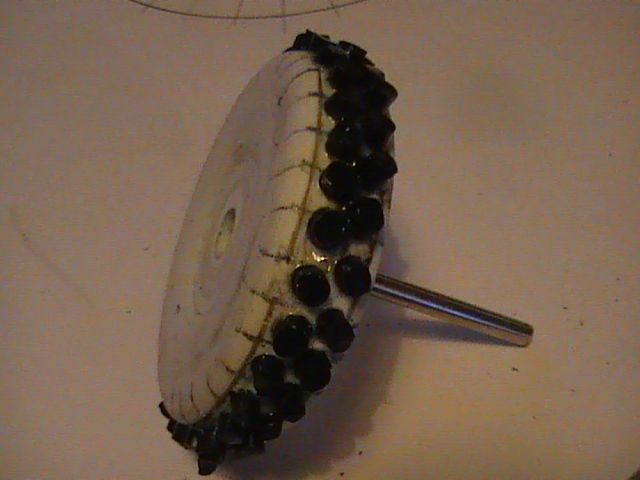
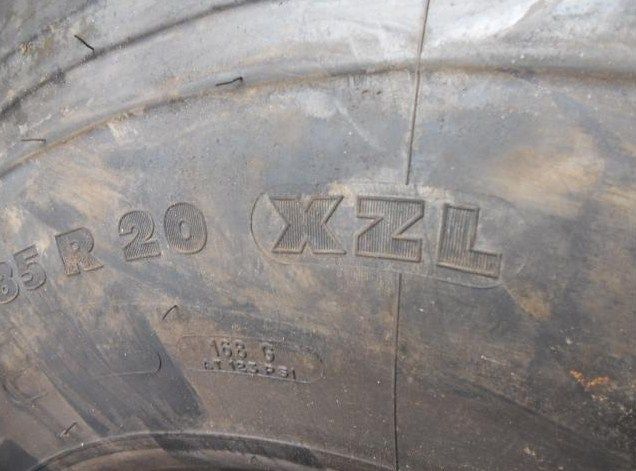
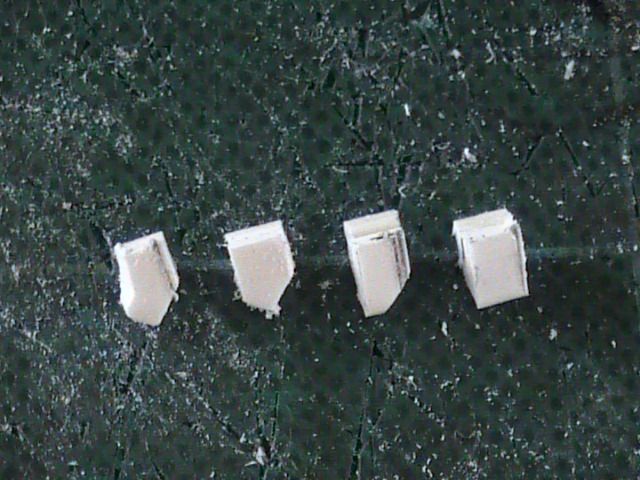
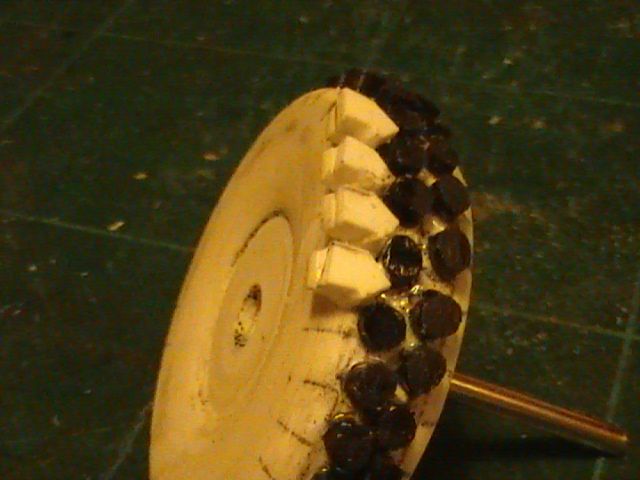
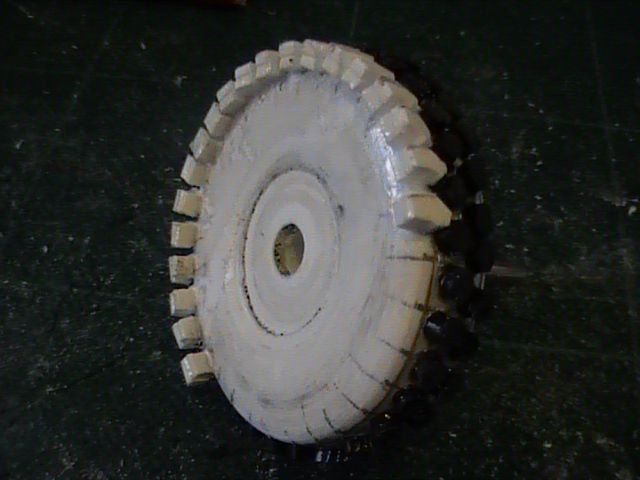
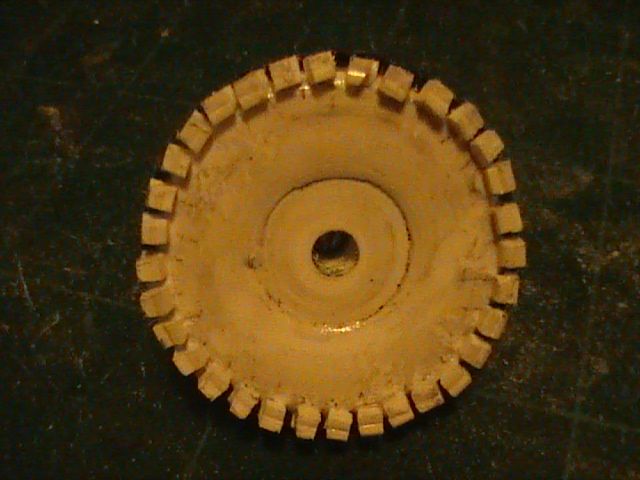
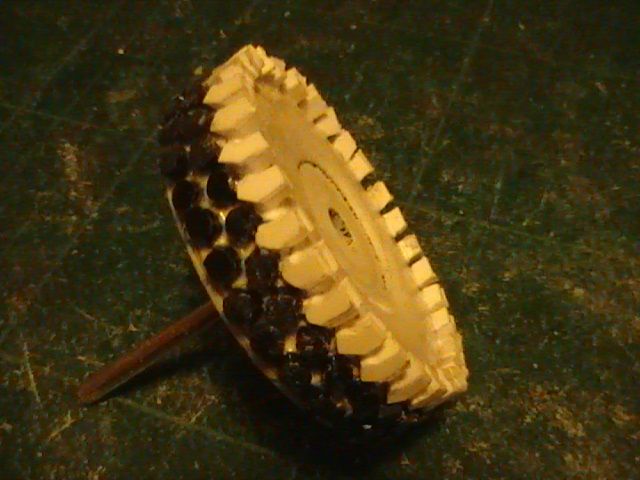


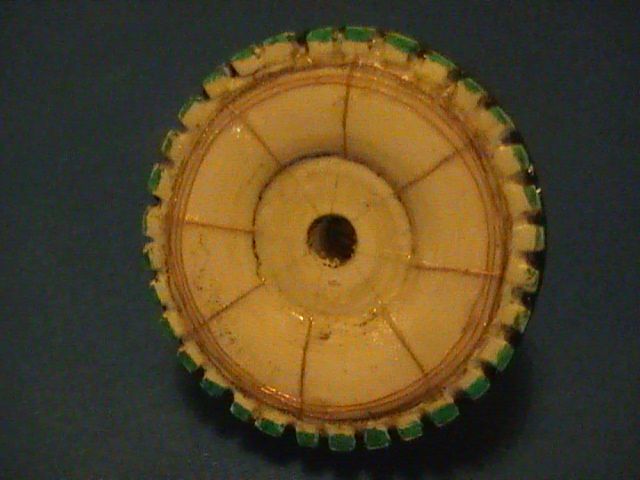
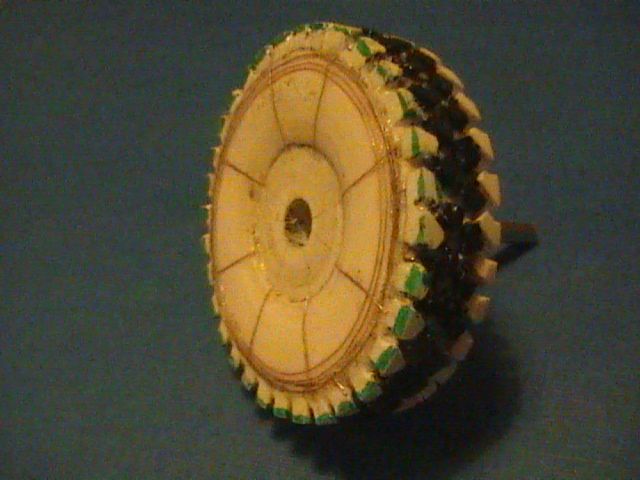
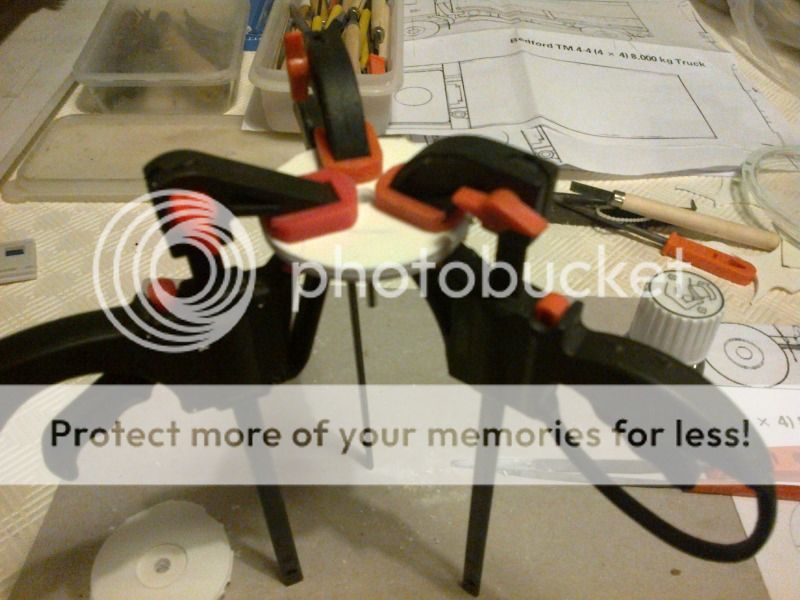
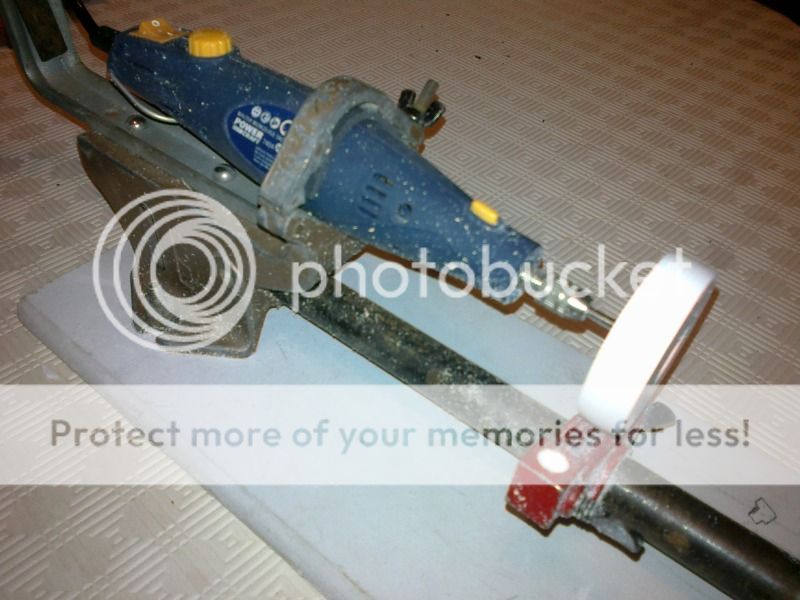
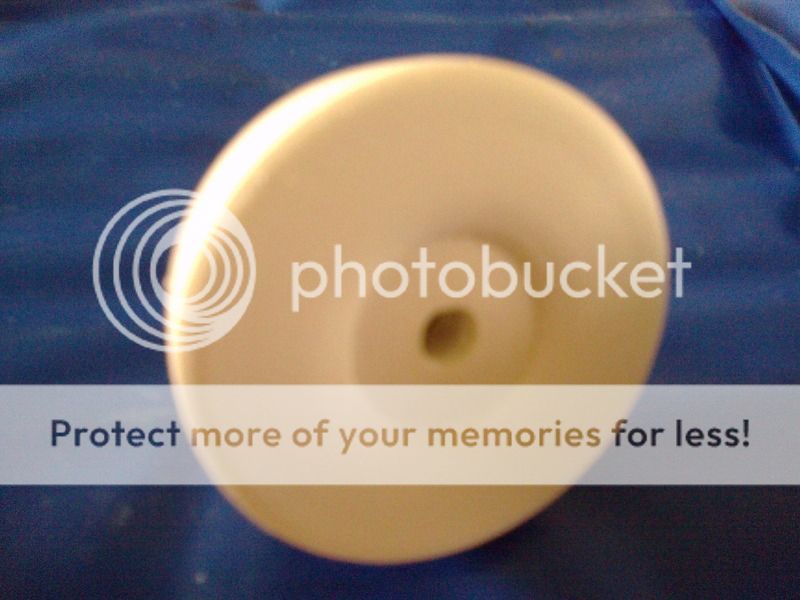
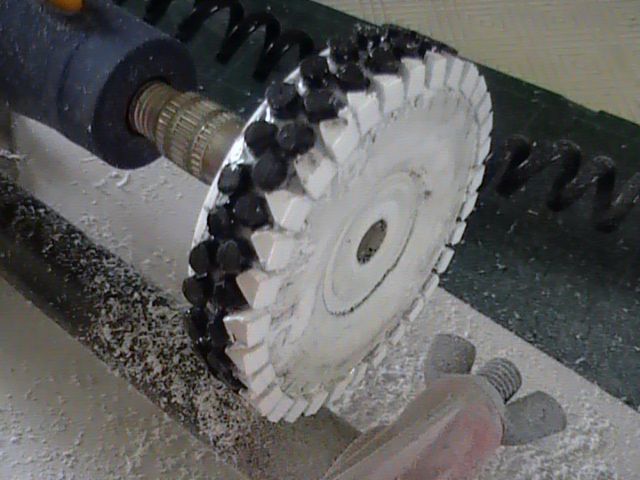
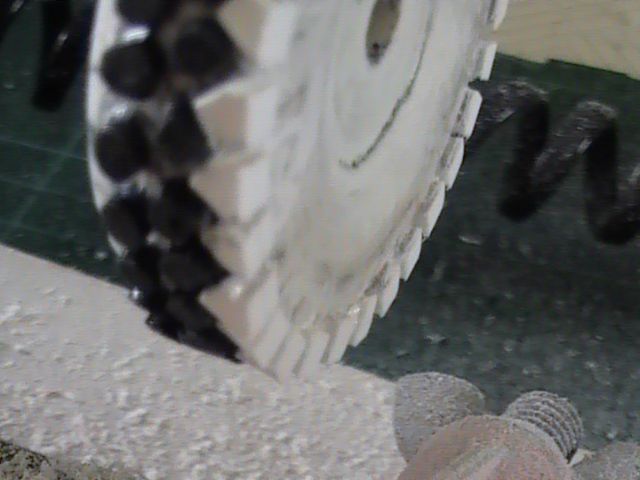
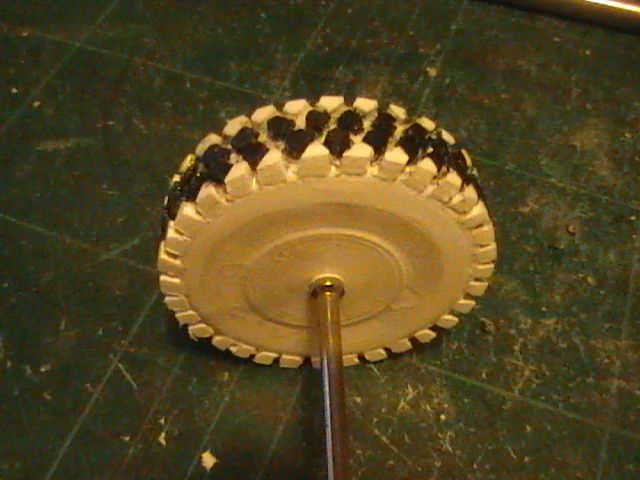
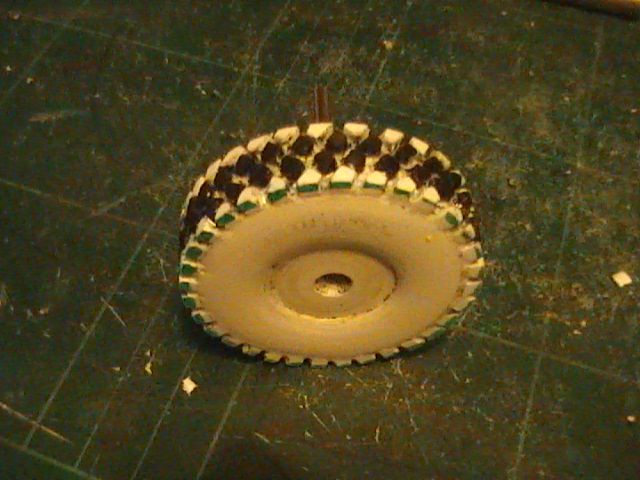
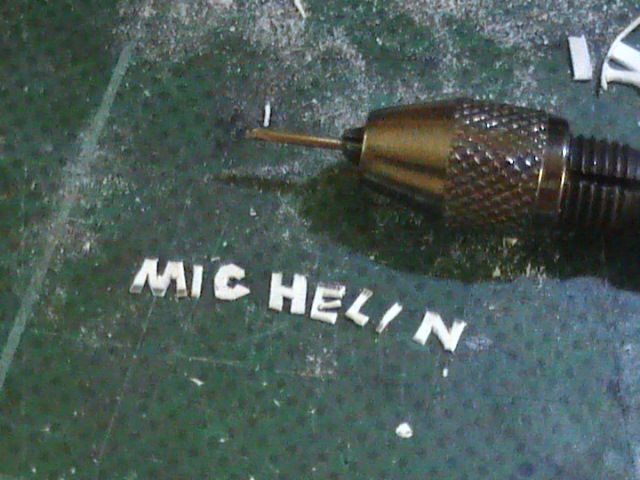
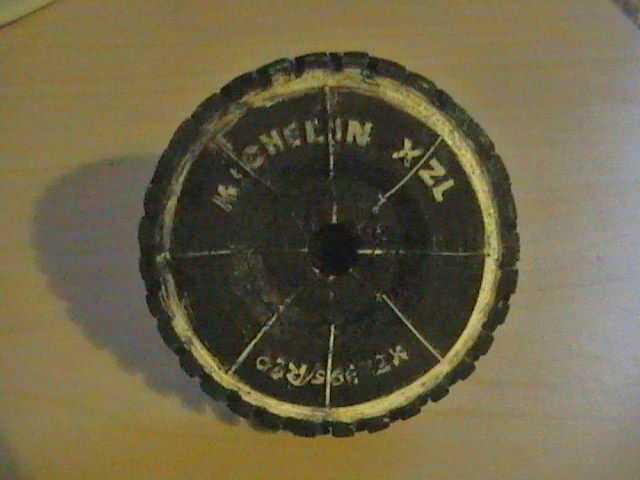
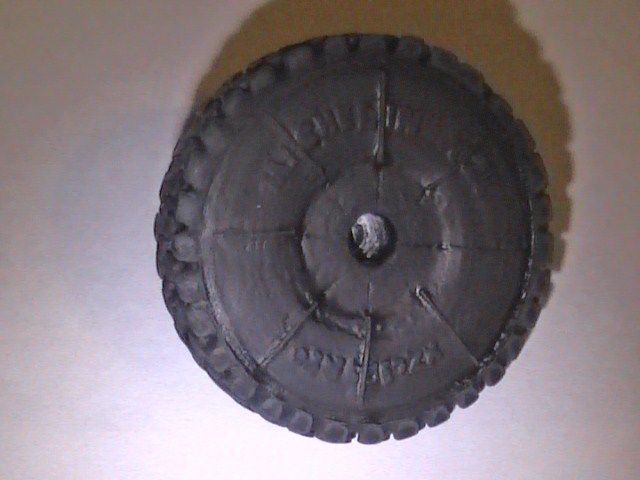
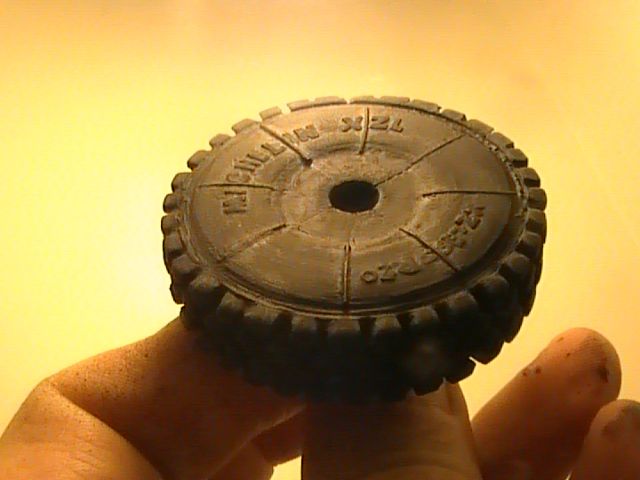
 - project from you And if you will make you such work only with the tires, what will follow with the rest
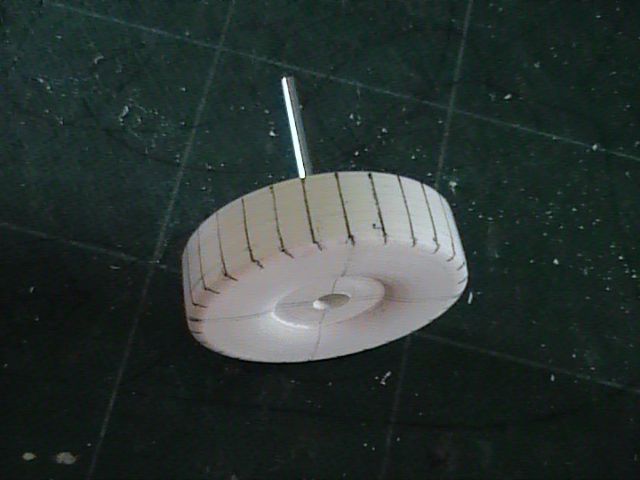
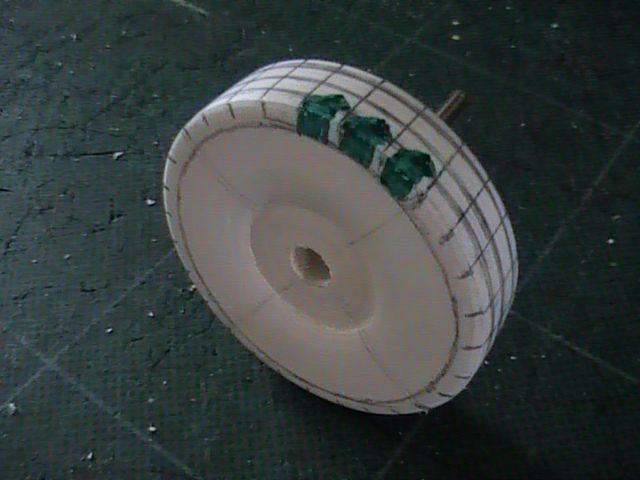
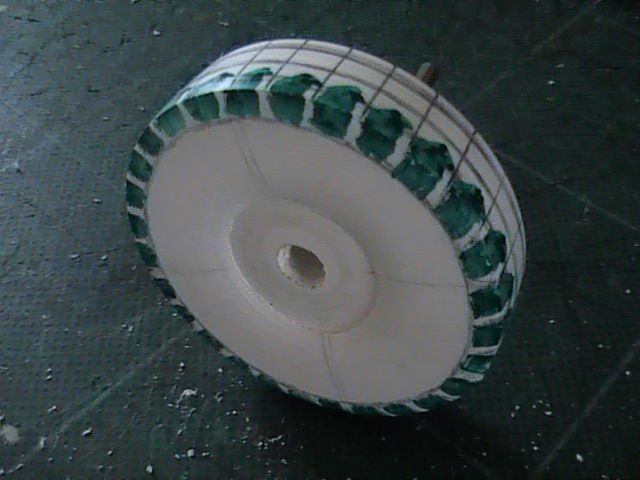
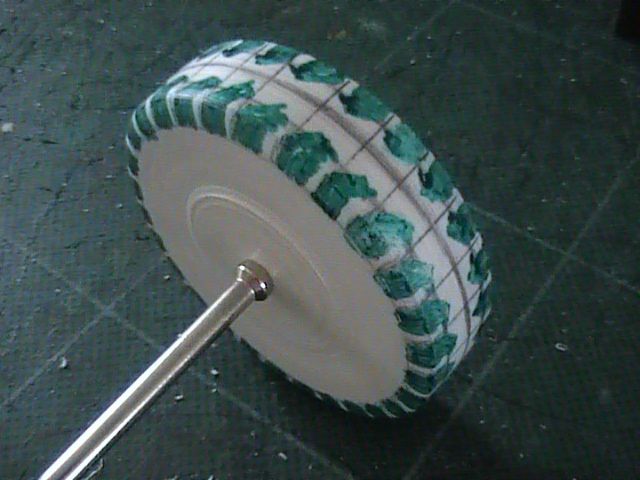
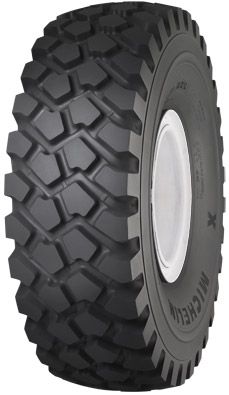
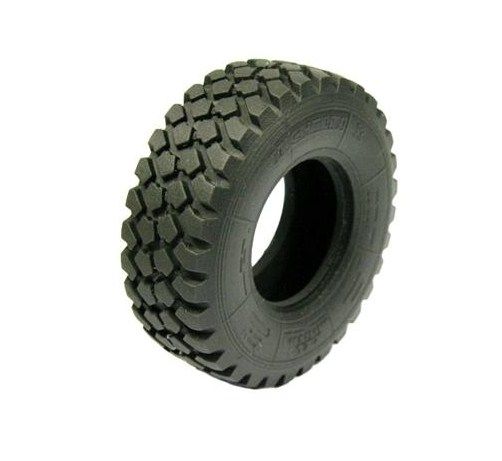
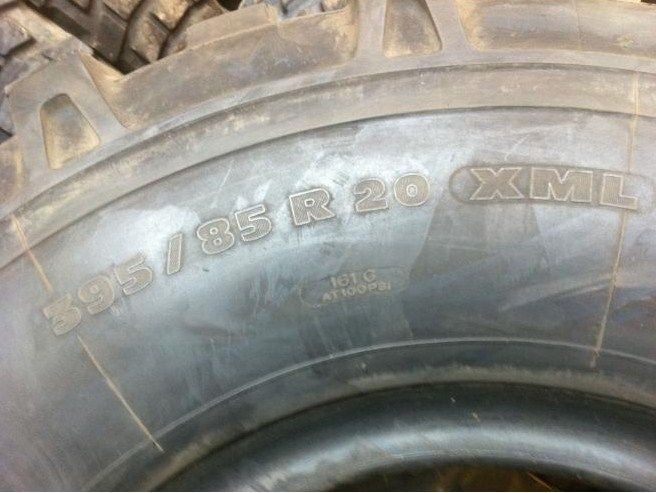
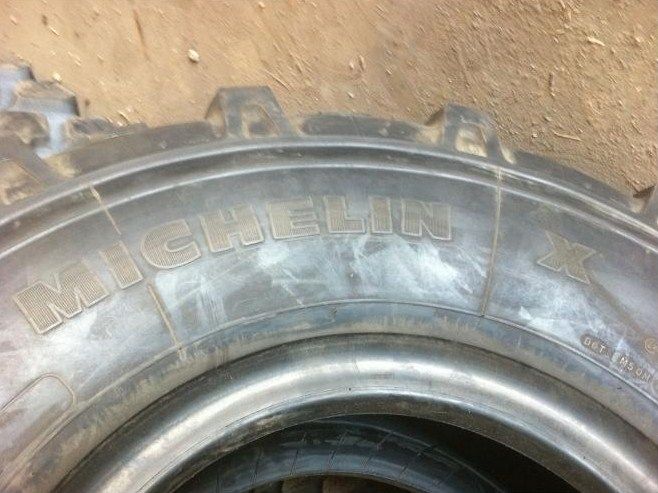
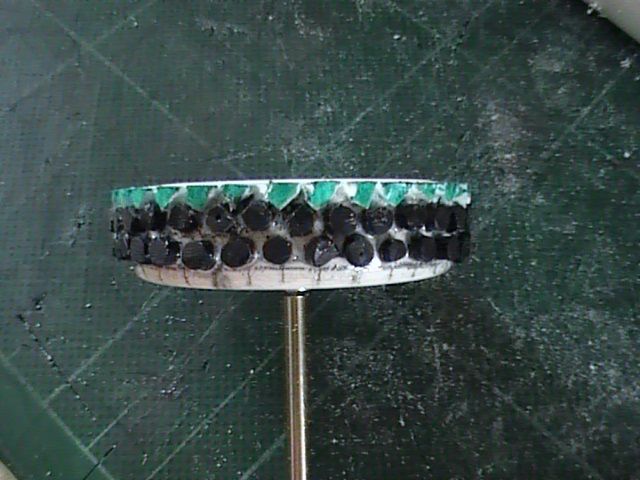
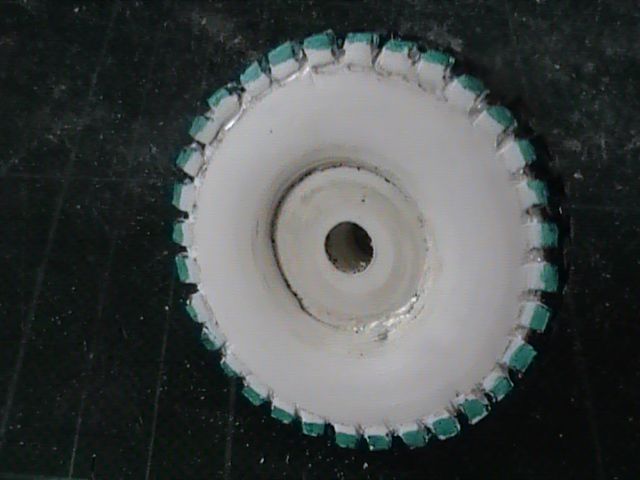
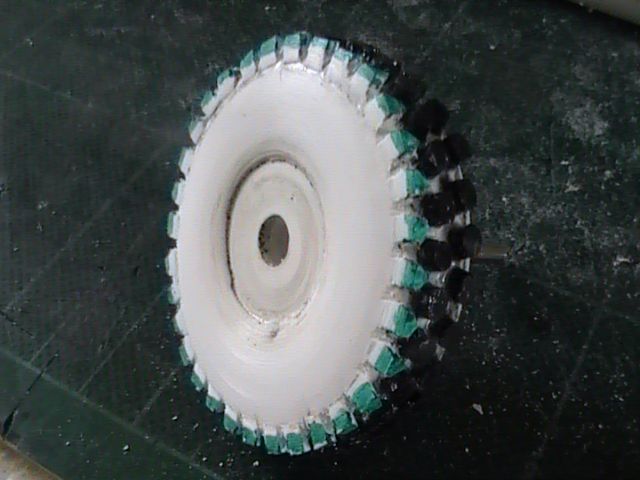
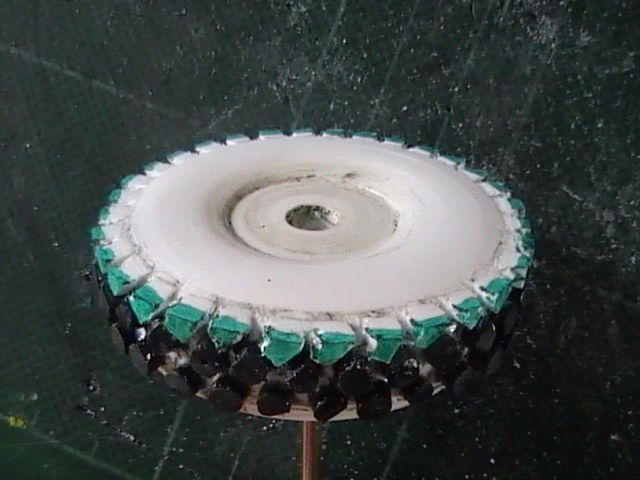
 I was very keen to see your solution for the tyres since currently I have a similar problem with my Mercedes 190 SL. But you are modelling truck tyres - wouldn't fit on a 60-year-old sports car
HI Nigel
The next
wfg
Roland
I hope my english was possible to understand


 Go on Man, you' ll make it!
Forensoftware: Burning Board®, entwickelt von WoltLab® GmbH