Sie sind nicht angemeldet.
Lieber Besucher, herzlich willkommen bei: Das Wettringer Modellbauforum. Falls dies Ihr erster Besuch auf dieser Seite ist, lesen Sie sich bitte die Hilfe durch. Dort wird Ihnen die Bedienung dieser Seite näher erläutert. Darüber hinaus sollten Sie sich registrieren, um alle Funktionen dieser Seite nutzen zu können. Benutzen Sie das Registrierungsformular, um sich zu registrieren oder informieren Sie sich ausführlich über den Registrierungsvorgang. Falls Sie sich bereits zu einem früheren Zeitpunkt registriert haben, können Sie sich hier anmelden.
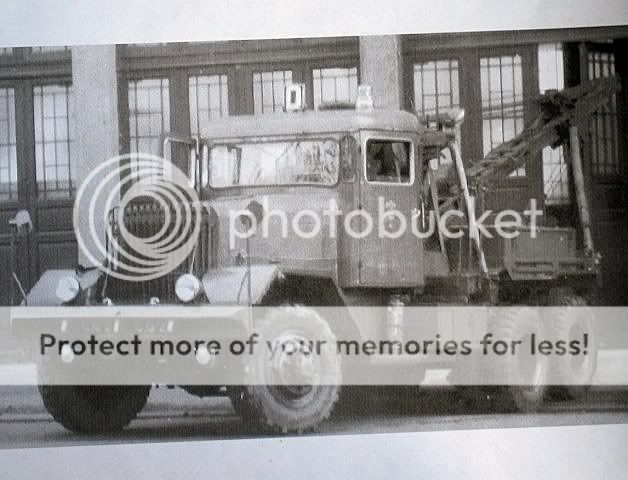
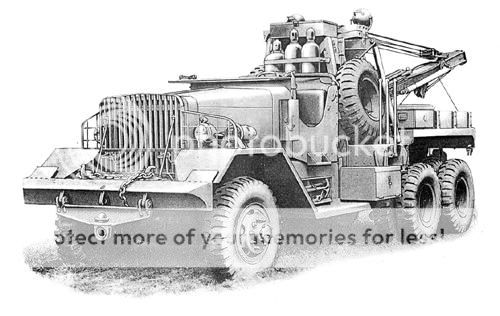
Dieser Beitrag wurde bereits 7 mal editiert, zuletzt von »FPT« (30. März 2009, 07:32)

 .
.


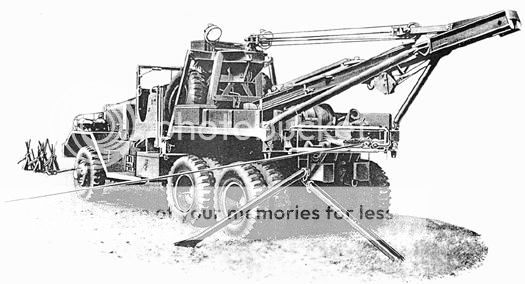
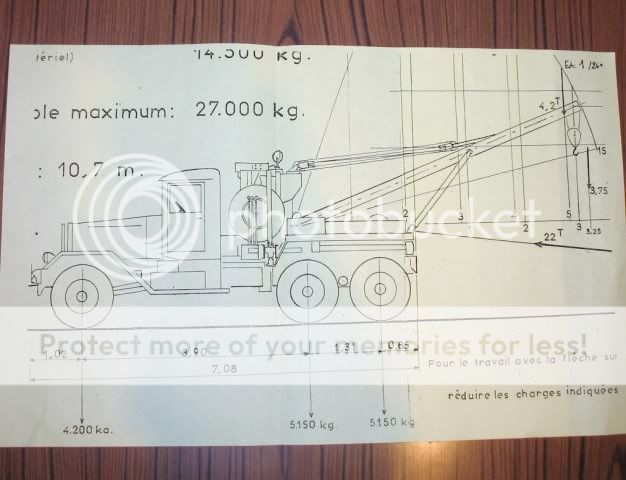
Dieser Beitrag wurde bereits 4 mal editiert, zuletzt von »FPT« (4. April 2009, 22:33)
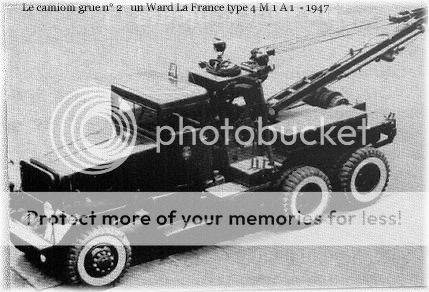
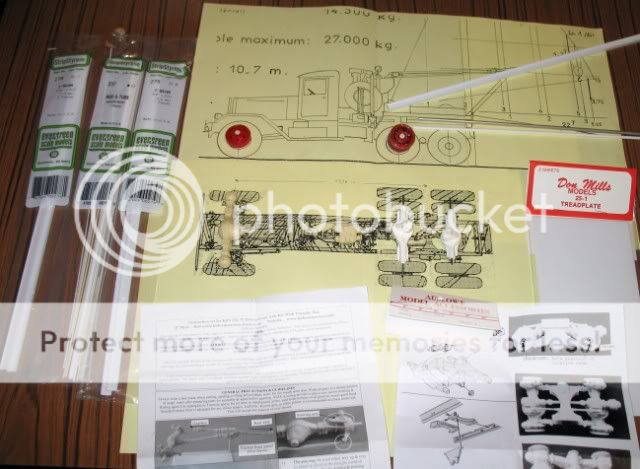
Dieser Beitrag wurde bereits 1 mal editiert, zuletzt von »lupus« (5. April 2009, 02:46)
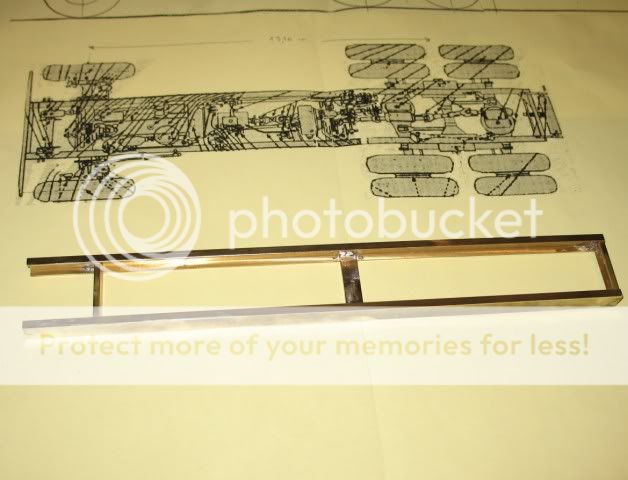
 .
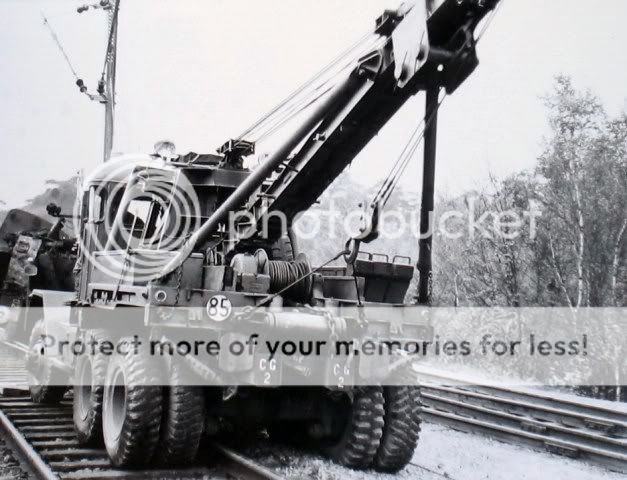
.Dieser Beitrag wurde bereits 3 mal editiert, zuletzt von »FPT« (3. Mai 2009, 15:38)
Forensoftware: Burning Board®, entwickelt von WoltLab® GmbH